
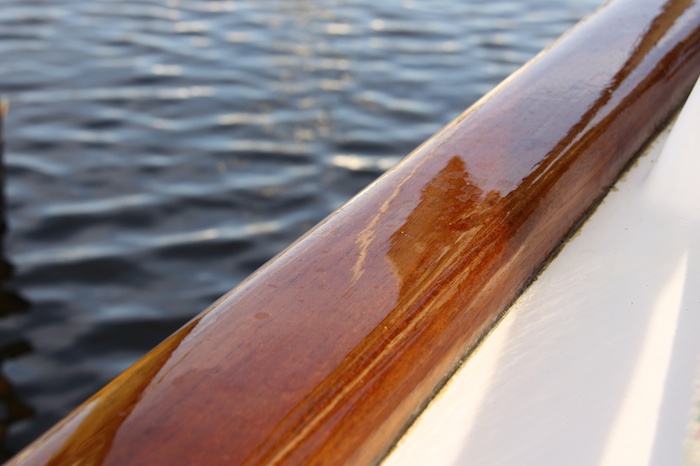
It’s time for the annual spring teak varnish maintenance. Unfortunately this spring, we have a new wrinkle (no not alligators) in the varnish. White blotches. What’s up with that? We’ve never seen anything like this before.
It’s been 3 years and 2 months since we stripped our teak caprail, eyebrow & handrails down to bare wood and started over with varnish. We started with 10 coats of Pettit Flagship varnish and we’ve added at least two, sometimes three coats every spring and fall since. But this year we started noticing some places where the varnish is turning very very light. Not attractive.

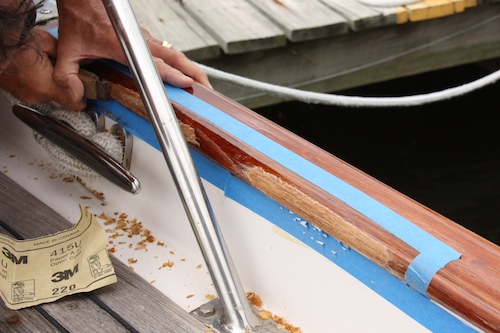
A quick discussion with our friend Rodney Hawksford, The Varnish Artist, revealed that white blotches are usually found on curved locations, and caused by the base coat separating from the varnish. Sure enough when I tapped on our white spots, the varnish felt loose, not secured like the surrounding varnish.
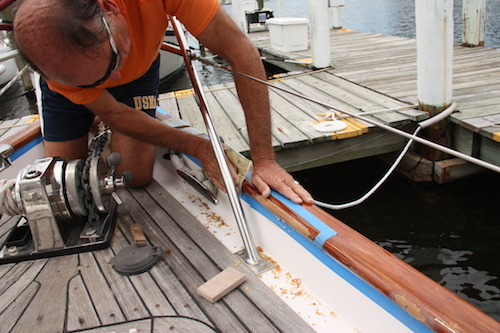
After blue taping the white blotchy areas, David stripped the varnish down to the bare wood using the hand scraper. It came off easily, some of it in large sheets of beautifully glossy teak colored varnish … that was no larger attached to the base wood.
Then we sanded – starting with 80 grit (course) and working our way to 220 grit to smooth the edges in with the surrounding varnish as best we can.
Even though it looks like David’s doing all the work, be assured that I did my fair share of taping, sanding, tacky clothing and then all the varnish/sealer application. Finally the spots were blended into the existing varnish and it was time for clean up before sealing. First we used the wet/dry vac to vacuum up all the dust and particles — no use having them blow back into the new sealer! Then tacky cloth, and finally we borrowed a can of Interlux Interprime Wood/Teak Sealer to put on two coats before starting to build the coats of varnish back up again. THANKS to Bill/sv Florida Buoy for letting us borrow the small amount of sealer we need to fix these spots so we didn’t have to buy an entire can when we needed just a bit.
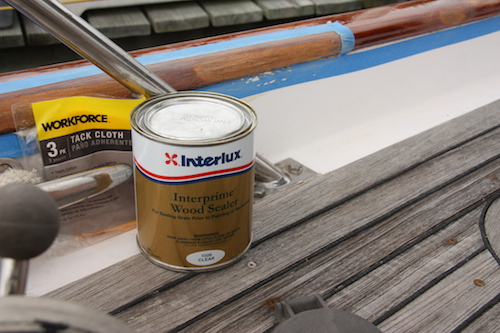
And finally the first coat of sealer goes on. I was sceptical that it would bring back the color of the wood, but it’s looking good so far! Another coat tomorrow before we start the varnish coats build up.
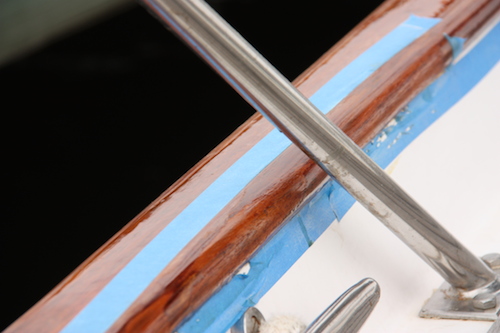
Look back at the first picture in this post for the exact same area. Hopefully another coat of sealer and then the buildup will blend in so it’s not so noticeable.
When the spots are built back up to similar to the surrounding teak, we’ll wet sand the entire caprail, eyebrow and handholds with 400 grit wet sandpaper before applying two more maintenance coats of Pettit Flagship Varnish (see this post for step by step how we do it).
I am convinced there is no one perfect way to approach varnish – although in all cases the prep is almost more important than the actual varnish. How do you approach white spots? Please leave a comment and share! THANKS! Jan


I’ve had similar problems with our teak and I think I see in your story something I did in the past. I used to sand down to 200-220 grit before apply the first coat, which I use 50-50 varnish and mineral spirits. After talking with an old salt, I only sanded to 100 and then applied the base coat (50-50). The rougher surface ‘keys’ that base coat much more effectively. After it dries thoroughly, then continue sanding with 220.
Hi Alan! Great info – unfortunately we already patched those white blotches and sanded down to 220 before applying the two base coats. Hopefully it will adhere. If we ever have to remove the varnish & start over, the rougher teak allowing the base coat to adhere better is logical. We don’t sand with 220 after the base coat – we use 400 grit wet sanding to get that glassy appearance. Cheers! Jan