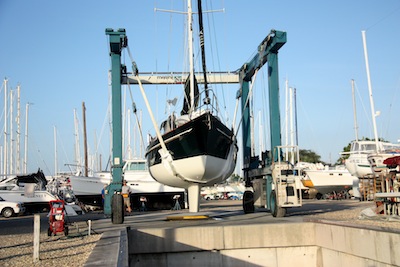
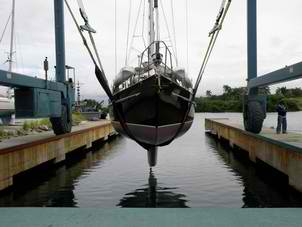
Finally the boat’s hanging in the travel lift slings, ready to go back in the water the following day. Unlike in most yards we’ve encountered, here the boat hangs in the slings in order to allow the stanchion spots – and the bottom of the keel – to be painted and dried before splashing. Much better than the last time the bottom was painted in Panama when they removed the stanchions, painted the spots and splashed the boat within a couple of hours (needless to say that paint was gone within the year).
We stayed aboard that last night since the yard wanted to launch us first thing in the morning. We found life hanging in the sling is an interesting cross between life on the hard and life in the water. The boat sways a bit with the wind, maybe we were being slowly re-introduced to life in the water!
We were lucky enough to occupy the very first space on the hard, so the cockpit looked out over the Travel Lift launch area — and we noticed that most boats were not prepared to launch and be back in the water … so here are our few tips — like with anything else on a boat, it’s important to think through what’s going to happen in advance.
1. Have dock lines out attached and ready to go just as when you’re approaching any other dock. We were flabbergasted at the number of boats going back in the water that did NOT have dock lines out and ready. Literally one in every ten boats had docklines ready to go.
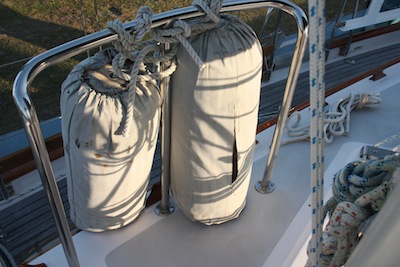
2. Make sure bumpers are out, available and handy. Ours are normally stored in the cockpit lazarette, but now they’re hanging on deck, out of the way. We may not need them at this dock, but if we do, they’re easy to grab.
3. Have your boathook out and handy.
4. Make sure the engine seacock is open. Ask us how we know!
5. Probably most importantly, if on the hard projects might allow water in the boat, make sure you’ll be able to see right away (before the boat is out of the travel lift slings) if you have unanticipated leaks.
If you’ve restuffed the stuffing box while you were out of the water, have the area open so the person that jumps on the boat first can easily see if it’s leaking too much and tighten it a bit. Having the correct size wrench out is also a good idea. 🙂
If you’ve done other projects — we changed out two depth sounder transducers, one of which required a hole through our 1 1/2″ thick fiberglass hull — leave that area open so you can see at a glance if it’s leaking when you go in the water. For us, thank goodness we have a hinged pullman berth mattress, because the depth sounder transducers are both under the foot of the bed!
OH, and don’t forget any “stuff” you may have removed from the boat while it’s 10′ up in the air. We had the kayaks off the boat. When we loaded them at the last minute, the yard manager called that he was hoping we wanted to leave those for him! No way! 🙂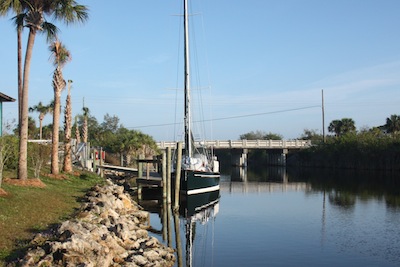
Once at the dock — unless you’re already underway, you may want to consider a rinse off. We were at the cleanest boatyard I’ve ever seen and Winterlude was still grungy. Despite our best efforts to leave our shoes off the boat so as not to track stuff in, etc., it just doesn’t seem to matter. We rinsed the boat off – not a full wash, we had a little while to wait on a tide to rise to get out, so it was just a quickie. I also vacuumed the inside hopefully to get the first level of grime out.

