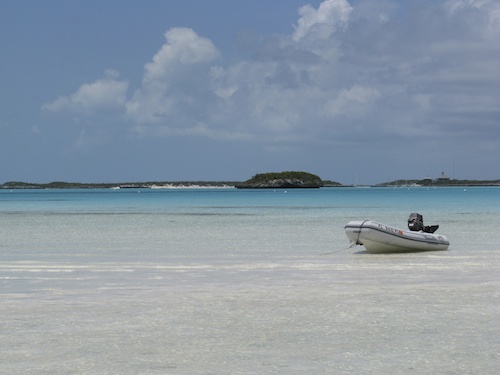
How did our AB dinghy suddenly develop a hole while it was deflated and covered for the summer? Who knows, but the bottom line is the front tube of our AB Lammina 9 aluminum RIB dinghy won’t hold air. (Editors Note: See recommendation below … we’re now on our 3rd day of fixing leaks…..)
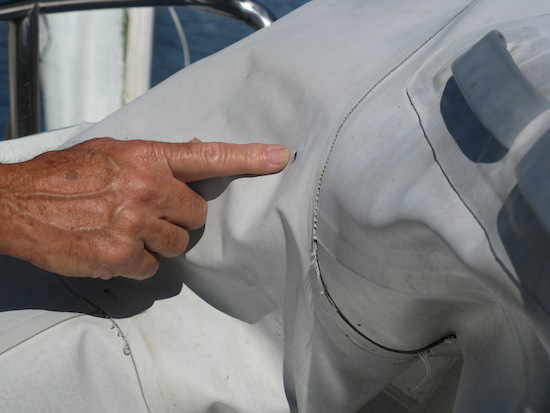
We’ve had this happen before. When we ordered this dinghy and took delivery in Roatan, Bay Islands, Honduras, it came with an extra hole. What a disappointment. But luckily it came with a maintenance kit and David was able to patch it successfully – a patch that continues to hold today, 7 years later.
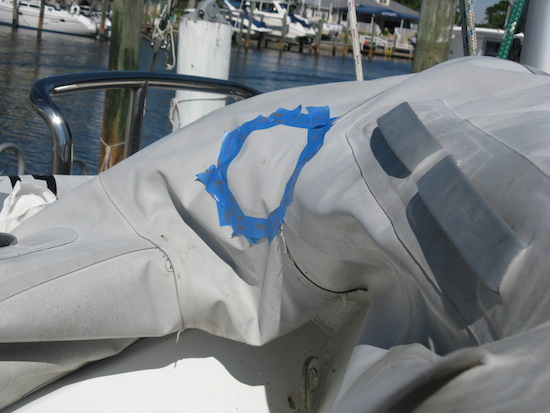
We had patches left, but no catalyst and a questionable tube of glue. I called around to locate a local AB Inflatable dealer. The Naples dealer was willing to sell us an AB Maintenance Kit.
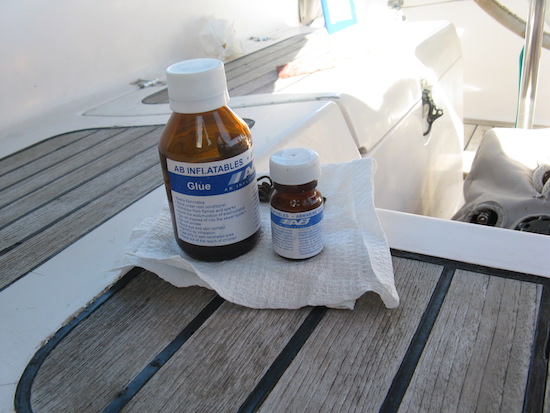
As with all projects, I learned some important information. First you must know whether your dinghy is Hypalon or PVC because the glues are different.
Second, the dinghy manufacturers put 2 part glue in their maintenance kits for a reason – the one part glue is reportedly nowhere near as good.
Also (and possibly the most useful piece of information I learned), most dinghy manufacturers use the brand Poly Marine 2 part glue, repackaged under the dinghy brand name, so next time, I’ll order Poly Marine 2 part glue, probably from Defender or West Marine, see links below.
Click here for the Poly Marine Technical Support page with instructions in detail, even two separate PDF’s you can download, one for hypalon and one for PVC. It would have been better had we read these instructions first, but we didn’t, so hopefully our result will hold air.
We located the hole – or so we thought, it turned out to be the first of three holes, two successive mornings of pumping up the dinghy only to have the front tube deflate – very depressing.
If you have trouble finding the leak a mixture of Joy/water over the inflated tube will bubble showing you exactly where the hole is located, but now you’ll need to wait until it’s totally dry before proceeding.
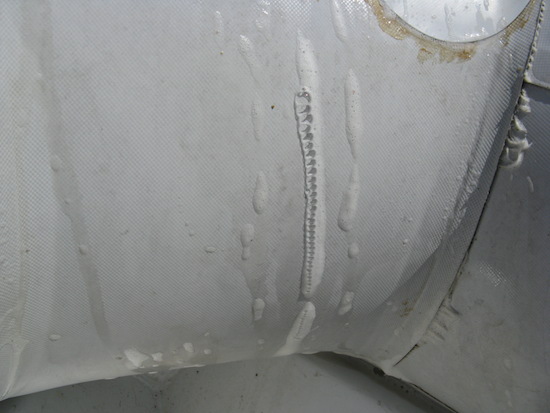
HINT: Do yourself a favor and even if you THINK you know where the leak might be, do the soapy water test on the entire tube. We redid the process three times … the last time we got smarter and soapsuds-ed the entire tube. And found one more leak … the THIRD … so I’m keeping my fingers crossed that when we inflate it tomorrow morning, it’ll finally be airtight!
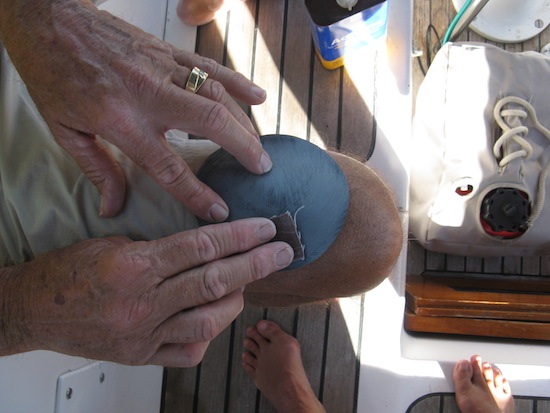
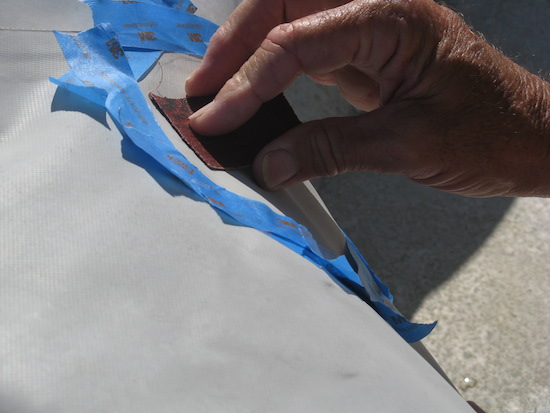
Tape off a diameter around the hole. Be sure to select a patch at least 2″ bigger We cleaned the area around the hole, first with solvent, then with a magic eraser (which is nothing more than microscopic sanding paper), then sanded with 80 grit sandpaper – both sides, the patch and the dinghy need sanded until they begin to look more like suede.
Clean both sides with acetone to make sure there are no tiny particles remaining. Let dry.
Then mix the glue – follow the instructions. Interestingly enough, our instructions said 9:1 glue to catalyst (hardener), but the online Poly Marine Instructions say 25:1. Hopefully 9:1 will do because that’s what we did.
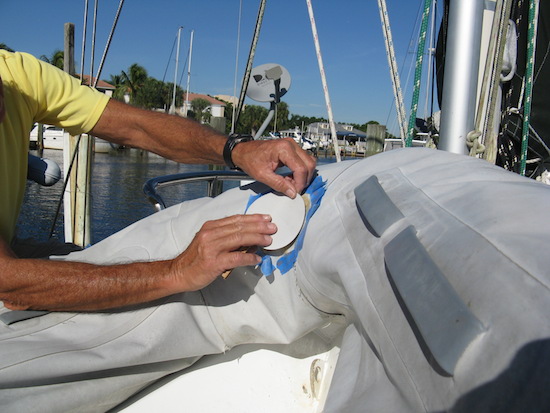
Mix the glue on a metal or glass container (not plastic, I have no idea why, but we did as instructed). Then paint on the inside of the patch and the taped off section of the dinghy tube. Wait 5 minutes (that’s what our instructions say, the online Poly Marine instructions say 30 minutes, again hopefully ours will be sufficient). We had to mix more glue/catalyst because we didn’t have enough to do the next coat – two coats of glue/catalyst on the inside of the patch and the exterior of the tube. Again, we waited 5 minutes.
Then we tried to apply the patch to the partially deflated tube. NOT an easy task and we hope we got all the air bubbles out. The Poly Marine instructions say to apply the patch to an inflated tube … which is crazy because a tube with a hole in it is not likely to stay inflated – we tried, we know!
Supposedly we wait 10 minutes for the bond to begin, 9 hours before it will hold air, 48 hours before it’s cured and 7 days before it’s totally cured. We’ll likely wait at least two days to find out if our dinghy holds air.
In the meantime, we found out that you can buy the Poly Marine 2 part hypalon glue at either Defender or West Marine. Defender is less expensive, West Marine can be more convenient depending on whether there’s a West Marine near you. Here are links to both:
Defender Poly Marine 2 part hypalon glue
West Marine Poly Marine 2 part hypalon glue (remember 2 part, never 1 part!)
Buena Suerte! Don’t forget to download the Poly Marine instructions at the link above before starting a dinghy repair project … and it’s a good idea to read them prior to starting too … unlike us! 🙁
Anyone with more to add on repairing a dinghy leak? Please add a comment and share! THANKS & Cheers! Jan





Jan, sounds like you did right. With tw0-part products, the ratio of catalyst-to-base largely determines the time it will take the base to “kick” – or cure. More catalyst (9:1 rather than 25:1) should require less time (5 minutes rather than 30 minutes) to kick – so the difference in your two instructions makes sense.
ON the other hand, I’d usually figure the manufacturer of the adhesive knows their product… But perhaps there are other issues that AB knows about, so they’ve consulted with the glue maker and reached an understanding… Let me know how it all comes out!
Sounds like you did right. I’ve also had very good results with the Bostik one-part hypalon glue. One of my patches has been on since 2001 still going strong with no signs of separation.
Hi guys, great post. I have heard in some cases where boat owners used a poor, cheap quality hypalon glue for patching and the results were disastrous when they were out at sea. Make sure your glue is good quality.