
A spillover kit is a simple fan designed to make the refrigerator condenser cold air go farther, but it’s also what started us on one of those days … you know, days where the boat’s torn apart and every little thing seems to compound itself and you wonder if life will ever return to normal… even though it’s only been a few hours? But now it’s 4:30 and I can start to see parts of the inside of the boat again, all the tools, drill bits, extra screws and wire and even the one gallon shop vac are finally disappearing back into civilization.
We seem to be our own worse enemies since we had that shakedown cruise where everything worked perfectly. Now we’re doing preventative and “upgrade” projects.

As we mentioned, when Blue Ice Dave visited our Adler/Barbour refrigerator, he bled off some excess refrigerant and suggested that we eliminate the speed resistor to reduce the amps needed.
We also asked about the feasibility of converting the “ice box” next door to the refrigerator to a “real” refrigerator. While we were cruising, cruising friends gave David the idea to drill holes between the two, so it was a “cooler” and fairly efficient with the extra insulation we added. But it wasn’t cold enough to actually refrigerate anything.
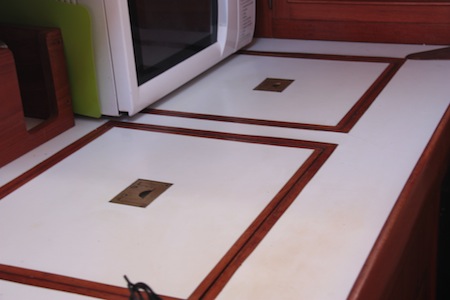
We were thinking we’d need to add an extra ColdPlate or ColdMachine, but Blue Ice Dave thinks that since our Adler Barbour is so efficient at cooling its current small space, that something called a “Spillover Kit” might work to make it an actual refrigerator. A “spillover kit” is nothing more than a little fan to put in the wall between the two and a separate thermostat to regulate the air temperature in the “cooler” part.
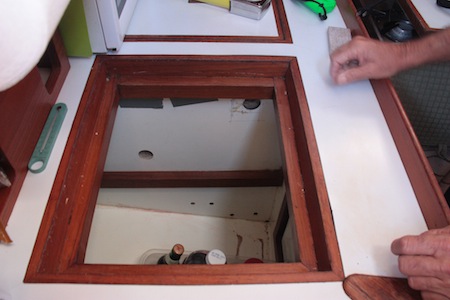
So today “we” … actually David … started installing it. But, as usual, nothing on a boat goes quite as planned. Finally after some amazing contortions, the hole was cut and the fan installed. Next it needed electricity … David drilled a small hole though the back wall of the fridge into the engine compartment (we’ll fill it with expandable squeeze in insulation) and we threaded the wires. BTW, that back wall was over FIVE inches thick! He had to borrow a longer drill bit just to get the small hole through the wall.
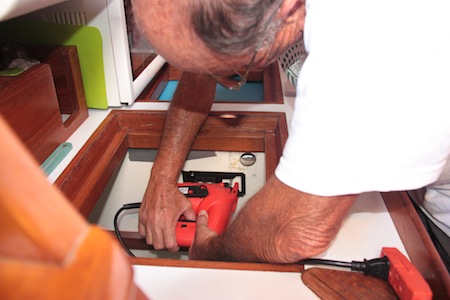
Then we ran the wires and tested the fan — oops, it’s in backward. A quick readjustment and voila! Fan works. Now to get it hooked up to the thermostat — this thermostat is on the cooler side and unlike the thermostat by the ColdPlate, it measures air temperture, not ColdPlate temperature. Then he added the fan cover and “prettied” it up.
So now for the first time since 1985, Winterlude may have a refrigerator that compares in size to the newer boats … but it’s too soon to tell. The new fan is busy humming away pulling cold air from the freezer compartment over to the former “cooler”.
We’ll have to see if that causes the freezer compartment to start to thaw so we have to turn that thermostat down further and also if the “cooler” gets cold enough to be a refrigerator. I’m sure it’ll take a bit of experimentation on both thermostats.

It’ll also be interesting to see if it causes the condenser to run more than it’s usual 12 hours. So much to learn, good thing we have time!
In the meantime, it’s an upgrade project done and we are very excited. Now if that darn windlass would just show up so we could actually leave the dock.
Anyone added a spillover kit & have any advice for what to expect, we’d appreciate it! Please leave a comment and share! Here’s to CHILLY! J


We installed one of these in our Passport a few years back and we love it !
Thanks Mary! Good to hear that someone that’s had one for awhile is happy! Cheers!
Hi!
Can you tell us what size hole you need to drill for the spill over kit?
Your help is appreciated!
Shannon