
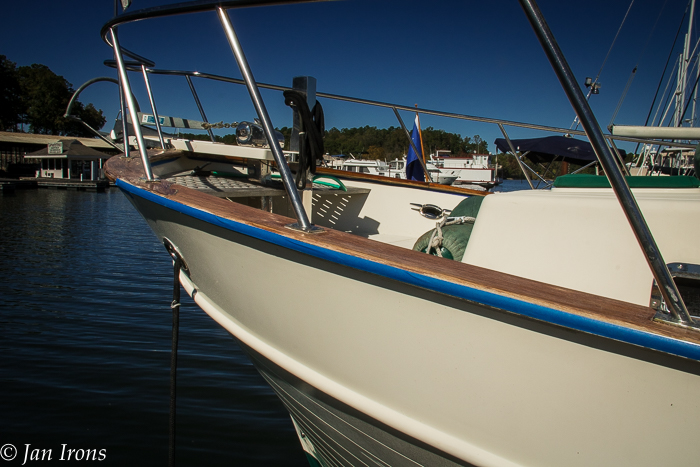
Do you ever walk down the dock, gaze longingly at another boat’s varnished teak and wish yours looked similar? Mirror finish teak isn’t hard. But it does require a bit of dedication. This week, we’re still in maintenance mode as we moved a grand total of 58 miles, to Bay Springs Lake and then on to Midway Marina in Fulton, Mississippi. So it was teak time for Optimystique!
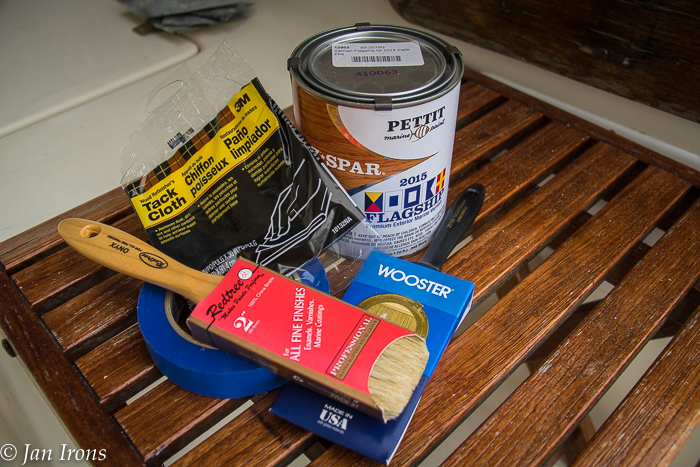
We decided our varnished teak was getting worn after almost a year continuously enjoying our Great Loop. For less than $250, one day of prep, then 1 hour for sanding and 2 hours daily for a coat of varnish, we’re well on our way to having glossy gorgeous varnish again.
There are 5 secrets to gorgeous teak.
- The Prep – Sand with the grain only.
- Which Varnish?
- 2 Sealer Coats
- Varnish Only One Way With The Grain
- Multiple Coats of Varnish. I’ll elaborate below.
Luckily our teak only needed freshening, not a complete redo. If you have significant spots where the bare teak has been exposed and mold (black spots) has started to infiltrate, you need more than just a refresh – read my day to day, step by step teak series here. (scroll down).
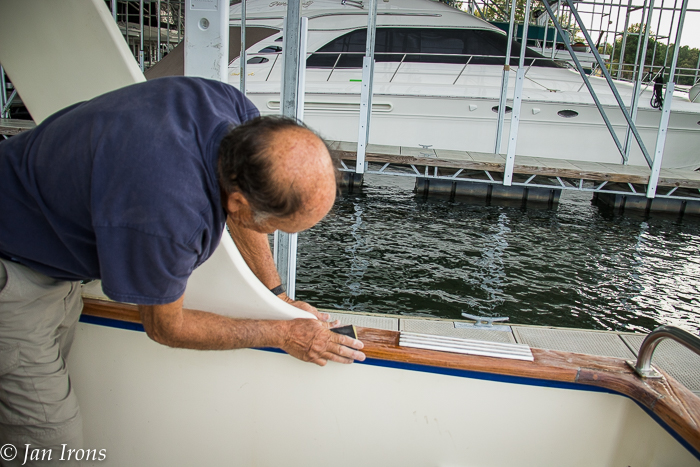
1. Scraping. First all loose varnish had to be scraped off. David accomplished this in a couple hours using a varnish/paint scraper. Be careful not to gouge the wood.
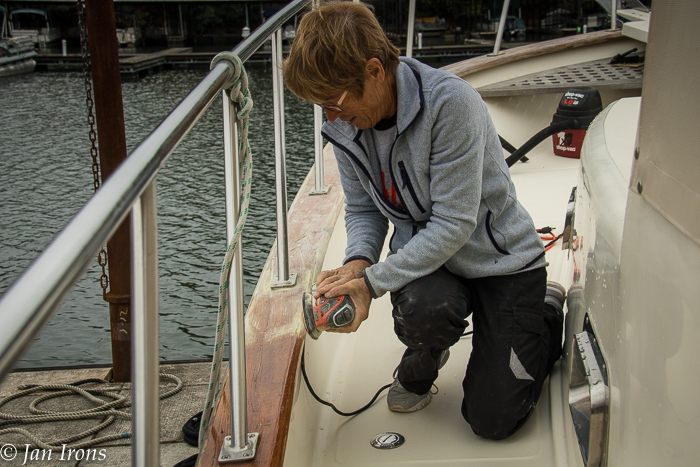
2. Sanding. Oh the sanding … not my favorite part. But it took a little more than half a day to finish, so not overly onerous. We started sanding with my little Black & Decker Mouse sander with 80 grit (which is a bit too course, but it was what we had aboard – ideally I would have used 120 grit).
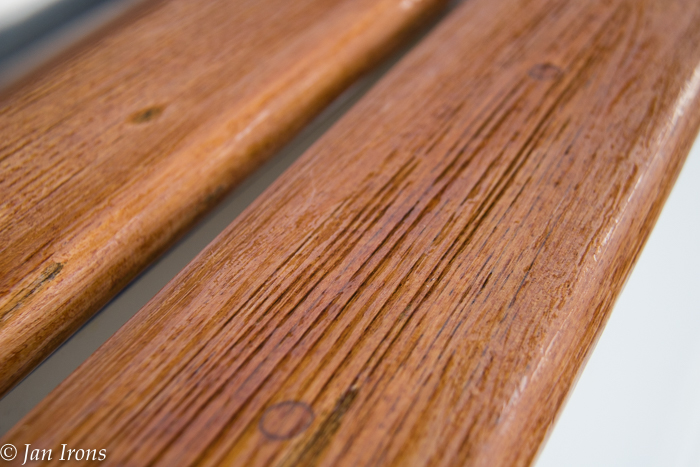
The 80 grit sandpaper evened out some of the ridges and cleaned out the “bad spots” that David has previously scraped. NOTE: On Optimystique, our teak has some deep ridges from where a previous owner left the teak bare and over 10 years, the softer wood began wearing away. My guess is that owner cleaned the bare wood with something too harsh, causing the ridging. So there’s no way my teak will be perfect unless we start over and sand all those ridges away. So we’ll go with almost perfect instead.
The KEY TO SANDING is to ONLY SAND WITH THE GRAIN – Note which direction the grain is running ONLY SAND THAT WAY.
3. 220 Grit Sanding … this time with 220 grit – a bit finer – and still using the Black & Decker Mouse Sander. Again, all the way around.
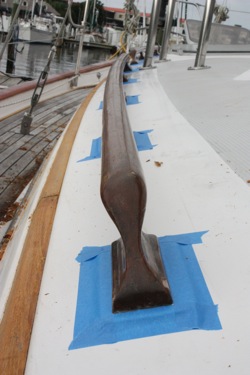
4. Clean Up and Blue Tape. We usually hose off the boat to get the sanding dust off at this point. When it’s dry, we Blue Tape everything where we don’t want varnish to be.
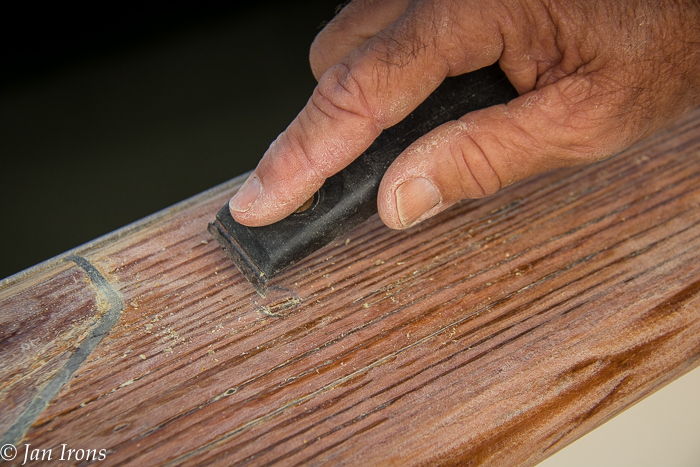
5. “Get Your Smooth On” (Thanks, Doug for reminding me!) 3rd sanding. 400 grit sandpaper… this time hand sanding. In the past, we’ve done this step with 390 grit on my mouse sander, but we didn’t have any, so we hand sanded with 400 grit. Then more clean up to get rid of all the dust in preparation for the first sealer coat of varnish.
6. Get Rid of Dark Spots. If we were redoing the teak for real, this would be the time for Snappy Teak – a 2 part teak cleaner that gets rid of ALL the grime and mold. (NOTE: There are many supposed teak cleaners, but our friend, Rodney, The Varnish Artist, that taught us how to do teak says the only one that really works is Snappy Teak). But since we’re only doing a repair job, I simply wiped the teak down with bleach on a rag and let it dry in the sun. This only works if the teak is reasonably free of dark mold spots.
7. Wipe Down with Tack Cloth. Tack cloth gets rid of any remaining dust. Again, a step I’m not fond of – it’s not hard, it doesn’t take long, but the tack cloth sticks more to my hands than to the teak. Rubber gloves can help if you don’t want overly sticky hands.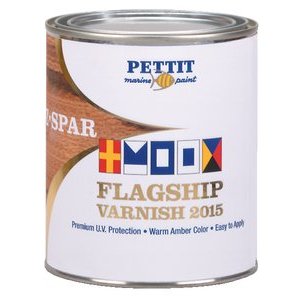
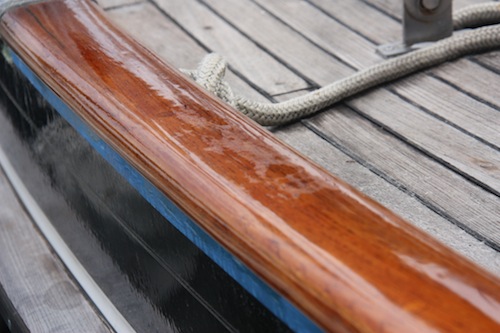
8. Varnish Selection. Yes, the type of varnish you use IS important. Our teak had been done previously with Pettit Captain’s Varnish. And although it looked good, the first thing I noticed when we started applying my favorite, Pettit Flagship Varnish 2015 is that it was MUCH glossier and shinier. And isn’t glossy what we’re after with varnish?
Another IMPORTANT SECRET! The first TWO coats of varnish should be SEALER coats using a brushing thinner. Our choice is Interlux 333 Brushing Thinner, a proprietary brushing thinner with a slow drying solvent designed to ease brushing and facilitate the flow of varnish. Thinning the first two coats of varnish allows it to soak into the bare wood spots, sealing them against the weather.
9. Sealer Coat: Day 1: Pick a nice day – preferably between 65-75 degrees and not overly humid. Beware of environmental conditions – one year our marina was next to a boatyard. To my dismay (and more than a few curse words), the boatyard was sanding and the wind was blowing grit our direction.
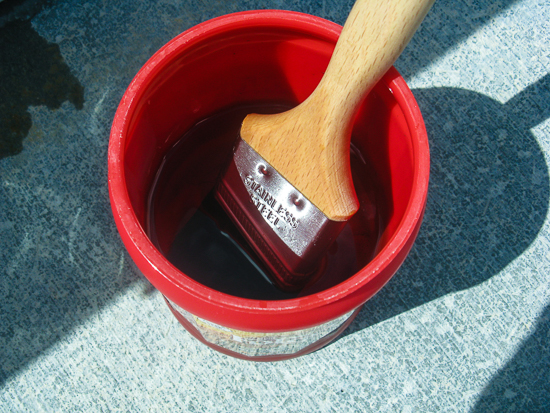
Pour about an inch of varnish into a clean shallow container. Pour another half inch (or less) of Interlux 333 Brushing Thinner into the varnish and stir well. Some like a 50/50 mix, I find that too runny to apply. You can start with more varnish because I’ll need to refill at least twice, but I always figure the less varnish to clean up if I accidentally spill it.
Don’t skimp on the brush – you’ll end up with bristles in your shiny new varnish with a cheap brush. Ideal is badger hair, but they’re almost impossible to find. Some china bristle brushes are OK – test them in the store by flexing the bristles & see how many fall out. Before you start, you may want to “de-shed” the brush to get rid of any loose bristles. While we’ve used foam brushes to touch up dings, we wouldn’t recommend them for a full coat of varnish. Here are a couple brush choices I liked.
Remember, THIN VARNISH will be very runny – on purpose to allow it to seal. Carry a paper towel or two with you to immediately wipe up drips. Go slow and remember to ONLY BRUSH ONE WAY – resist the temptation to brush back and forth – that defeats the shiny finish.
Cleaning the brush. I’ve used various methods, some more successful than others. This time, we cleaned the brush with Brush Cleaner from the local hardware store. After the brush cleaner, I suds the brush a couple of times with Dawn and water. Be sure not to spread out the bristles too much, otherwise the brush will be too “splayed out” for the next coat. Then I either let it dry in the sun or put it in aluminum foil to wait for the next day.
10. Sealer Coat: Day 2. Allowing enough time for the varnish to cure before putting on another coat is also key to having glossy mirror finish varnish. We always wait 24 hours even though the can says it should be ready before that. Before starting, the varnish must be very lightly sanded with 400 grit sandpaper. All you’re doing is roughing up the exterior enough to allow the varnish to adhere. Wipe down and tack cloth. Other than that, Day 2 is a repeat of Day 1 – only brush ONE WAY!
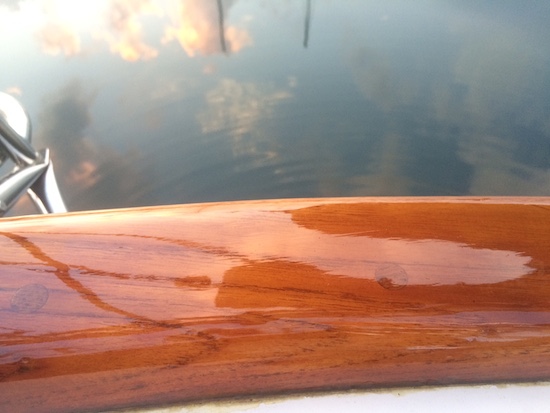
11. Finally REAL VARNISH! Important to realize that when the pros talk about 10 coats of varnish, they never include the 2 sealer coats. Discouraging, I know, but the number of coats is AFTER the sealer coats. Hand sand lightly again with 400 grit, wipe down & tack cloth. Then apply the real varnish. Remember to spread it thin or it will “alligator” – thick varnish congeals into spots that look like alligator hide – which is to be avoided at all costs. If you do get alligators, they must be sanded out before the next coat can be applied.
Brush only ONE WAY! Put on a single coat.
12. How Many Coats? 10 is ideal. If, you’re in a hurry, you can get by with less, just remember that less coats means the sooner it will need maintenance coats because UV burns off varnish. Remember, one coat per day – so if you want 10 coats, it will take 1 sanding hour & 2 varnish hours a day for 10 days for a boat like ours – 40 feet.
13. Maintenance Coats. UV burns off varnish. If you have 10 coats, sometimes you can get away with doing a couple maintenance coats a year depending on the climate. We always do 2 maintenance coats every 6-9 months to keep ahead.
One note: In the past, we’ve used Cetol Natural and other products advertised as lower maintenance than varnish. What we found was to keep any finish looking good, it still requires maintenance coats – usually 2 every 6 – 9 months. We finally decided if we were doing all that work anyway for Cetol (which will never look as good as varnish), why not try the real thing. That’s when we switched from Cetol to varnish and never looked back.
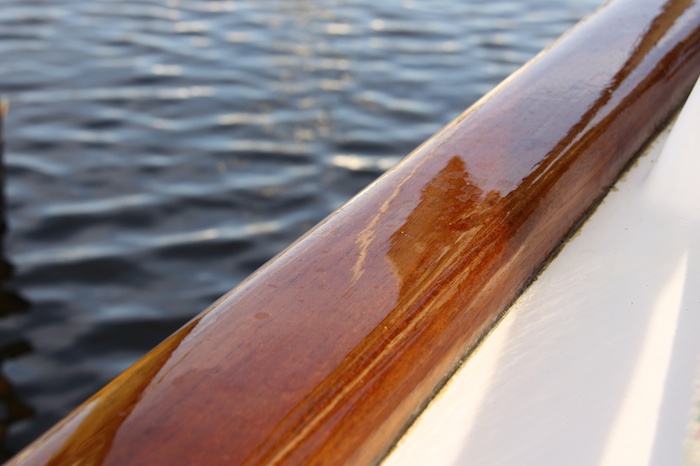
Now, enjoy your beautiful varnish every time you step aboard. And smile and accept the compliments when others walking down the dock comment on how nice your varnish looks. 🙂
Did I forget anything? Please leave a comment and add to the discussion! Cheers! Jan


excellent as always…thank you for the thorough content…
blessings
scott