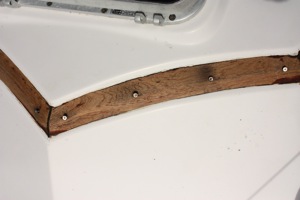
Ugghhh… our teak bungs in several places on the cabin top teak “eyebrow” are missing. And our caulk in the caprail, and elsewhere, is cracked, pulled away from the teak and in some cases, missing entirely. If we ignore the “details” like bungs and caulk, the end result will be mold getting back under my beautiful newly varnished teak … infiltrating from the bung holes and caulk crevices. GGgggrrrr…
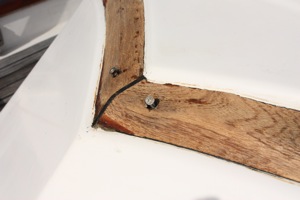
First the bungs. Ours had no teak caps left, the screws were showing. Unfortunately, someone at some stage of Winterlude’s life had decided to epoxy the screws which made them a bit more challenging to remove. We turned this part over to our “teak expert” because our luck, the screws would break off in the holes creating more challenges. Rodney was able to back the screws out with the help of a heat gun and persistence.
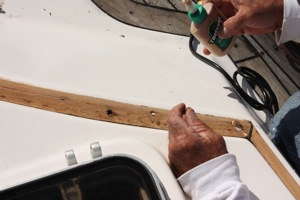
Then Rodney cut new teak bungs to replace them – buying readymade bungs is expensive and apparently Rodney cuts his own regularly. He left and returned a few minutes later with the bungs cut to size. The next step was to glue the bungs in place.
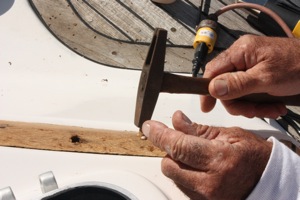
Then we tapped the bungs firmly into place and waited 24 hours for the glue to dry before we cut them off even with the eyebrow… and then to sand… and sand…. and sand…
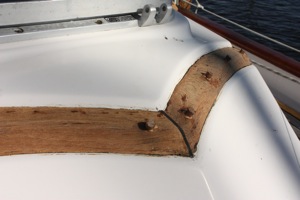
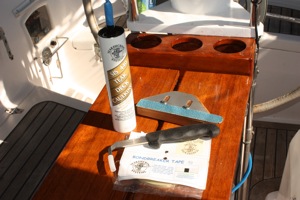 And now for the caulk…. yuck, this had to be the job we had been dreading and putting off for at least 2 years… OK, time to get serious. We visited Teak Decking Systems at the St Petersburg, FL Boat Show and got some basic information on what we needed to do. Then before we did it, we visited their store in Sarasota to buy the tools and stuff we needed. Heaven knows we never want to have to do this again! If we can get it right, maybe we’ll be lucky enough that it’ll last for another 30 years!
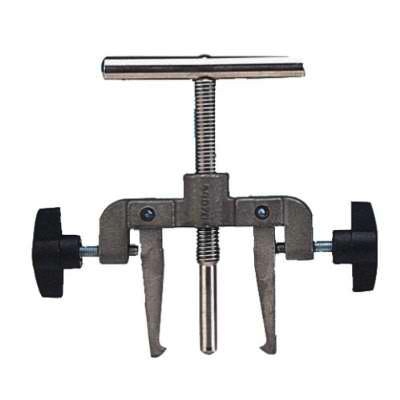
Here you see the tool we used to remove all the existing caulk and behind it the sander where we hand sanded ALL the extra residual caulk from the crevices. Here you’ll also see the caulk we used as well as the bondbreaker tape which was used to line the bottom of the crevice where we were putting new caulk. We were never quite sure why we were using it, but Teak Decking Systems told us we should, so we did.
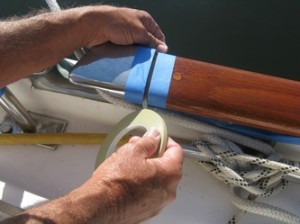
After we thoroughly cleaned out all the crevices and sanded with the special tool, we diligently applied the “bond breaking tape” to the bottom of each spot we needed to fill with caulk.
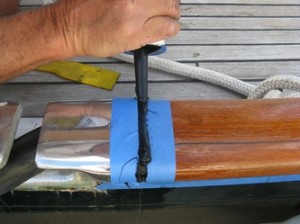
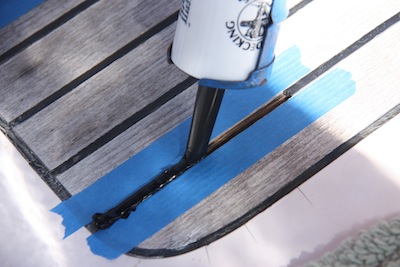
Note that every spot is blue taped bottom, sides and everywhere we can to keep the black goop off the newly varnished teak!
And finally we got to play in the goop … the special caulk recommended by Teak Decking Systems because it flexes and works WITH the teak, rather than against it.


[…] Teak Week – Day 3: Replacing Bungs and Caulk […]
Jan, Your posts are helpful as am in the middle of stripping an unknown product from our teak. Without knowing what was applied there are too many cautions over getting a good bond, so the only choice is to start from scratch.
How is your project holding up – now 5 years in (since you did the stripping in 2012)?
Is the sanding tool for the crevices filled with blank junk the 5 or 6 inch long tool? And what is bond breaking tape? Also a special supply item? Its clearly not the blue stuff.
We are leaning toward using Awlwood on our teak as the folks we’ve talked to here about finishing for us perked right up when I mentioned I thought we were working with an Awl____ product (little did I know it was just wishful thinking). I too am doing this as a girl project. I appreciate your powers and posts.